From ChromeOS to Arch Linux: Liberating the Acer Spin 713
A detailed guide on converting an Acer Spin 713 Chromebook from ChromeOS to native Arch Linux by flashing MrChromebox's UEFI firmware, overcoming hardware write protection, and navigating installation challenges.
Jake Berg
TL;DR
I successfully converted my Acer Spin 713 Chromebook from ChromeOS to native Arch Linux by flashing MrChromebox's UEFI firmware. The process required disabling hardware write protection via battery disconnect, complete firmware replacement, and manual disk partitioning to overcome installation issues. Spoiler: I now use Arch, btw.
The Goal
I wanted to enable USB boot on my Acer Spin 713 to run Linux. What I quickly learned: ChromeOS uses a completely different bootloader architecture that's incompatible with standard Linux boot processes. You can't just stick a Linux live USB in a Chromebook and expect it to work like a regular PC.
The legacy boot options (RW_LEGACY) that ChromeOS offers never ended up being a viable option for me to even test if my new OS would work. I needed to go all-in with a full firmware replacement.
Note on Developer Mode: The steps to enable Developer Mode vary depending on your hardware generation and ChromeOS version. Search for instructions specific to your Chromebook model, as the key combinations and process change frequently between releases.
The Hardware Write Protection Reality
Here's the critical part: the battery needed to stay disconnected to enter write mode. On the Acer Spin 713, hardware write protection is tied to the battery connection.
This isn't intuitive because the machine won't run without the battery connected, and you need to boot ChromeOS to run the firmware script. The battery disconnect is what physically disables the write protection at the hardware level, allowing the Full ROM flash to proceed.
The Power-Down Incident
After my first run of the firmware script, I selected the "power down" option and the machine completely stopped responding - it wouldn't turn back on at all. No lights, no power, nothing.
I eventually got it back on (the details of exactly how are a bit fuzzy), but this was a scary moment. The machine did recover and I was able to proceed with the full ROM flash.
The Flashing Process
With write protection handled, the actual firmware flashing was straightforward.
Running the MrChromebox script:
# In ChromeOS, open terminal (Ctrl + Alt + T)
shell
cd; curl -LO mrchromebox.tech/firmware-util.sh && sudo bash firmware-util.sh
What Actually Happened
The MrChromebox install script ran while ChromeOS was running - no special boot mode needed, just normal ChromeOS with a terminal open
"I AGREE" in all caps - the script requires you to type this exactly to confirm you understand you're completely replacing ChromeOS. No lowercase, no typos, caps lock required.
The script auto-detected my device - recognized it as an Acer Spin 713
I selected the Full ROM option, which warned that write protection needed to be disabled (which it was, thanks to the battery disconnect)
The flash completed and the Chromebook rebooted into standard UEFI - ChromeOS was completely gone
The Arch Linux "Surprise"
I created what I thought was an Ubuntu live USB using Balena Etcher on a 500GB flash drive. When I booted from it, I was greeted by the Arch Linux installer instead. Apparently I had downloaded an Arch ISO at some point and forgotten about it.
At this point, even Claude (the AI assistant I was using) gave me a warning: "Are you sure you don't want to just quit and load an Ubuntu ISO because it's easier?!"
But I decided to push forward with Arch.
The "Storage Too Full" Error
The Arch installer immediately failed with:
OSError: [Errno 28] No space left on deviceThis error appeared during the auto-install formatting step, which was confusing since I was installing to a 256GB NVMe drive. The installer was failing before it could even properly set up the disk.
Manual Formatting Solution
Since I had shell access in the Arch live environment, I decided to manually format the disk myself:
# Verify the disk
lsblk
# Output showed: nvme0n1 (256GB Samsung HFM256GDJTNG)

# Create GPT partition table
gdisk /dev/nvme0n1
Inside gdisk (interactive prompts):
Command (? for help): o          # Create new GPT partition table
This option deletes all partitions and creates a new protective MBR.
Proceed? (Y/N): Y

Command (? for help): n          # New partition (EFI)
Partition number (1-128, default 1): 1
First sector: [Enter]            # Accept default
Last sector: +512M               # Size for EFI partition
Hex code or GUID: ef00          # EFI System partition type

Command (? for help): n          # New partition (root)
Partition number (2-128, default 2): 2
First sector: [Enter]            # Accept default
Last sector: [Enter]             # Use all remaining space
Hex code or GUID: [Enter]       # Accept default (8300 - Linux filesystem)

Command (? for help): w          # Write changes to disk
Do you want to proceed? (Y/N): Y
Each command above is entered one at a time, with gdisk prompting you for the next piece of information. The [Enter] notation means just press Enter to accept the default value shown in the prompt.
Format the partitions:
# EFI partition as FAT32
mkfs.fat -F32 /dev/nvme0n1p1

# Root partition as ext4
mkfs.ext4 /dev/nvme0n1p2
Mount for installation:
mount /dev/nvme0n1p2 /mnt
mkdir -p /mnt/boot/efi
mount /dev/nvme0n1p1 /mnt/boot/efi
The Interesting Discovery
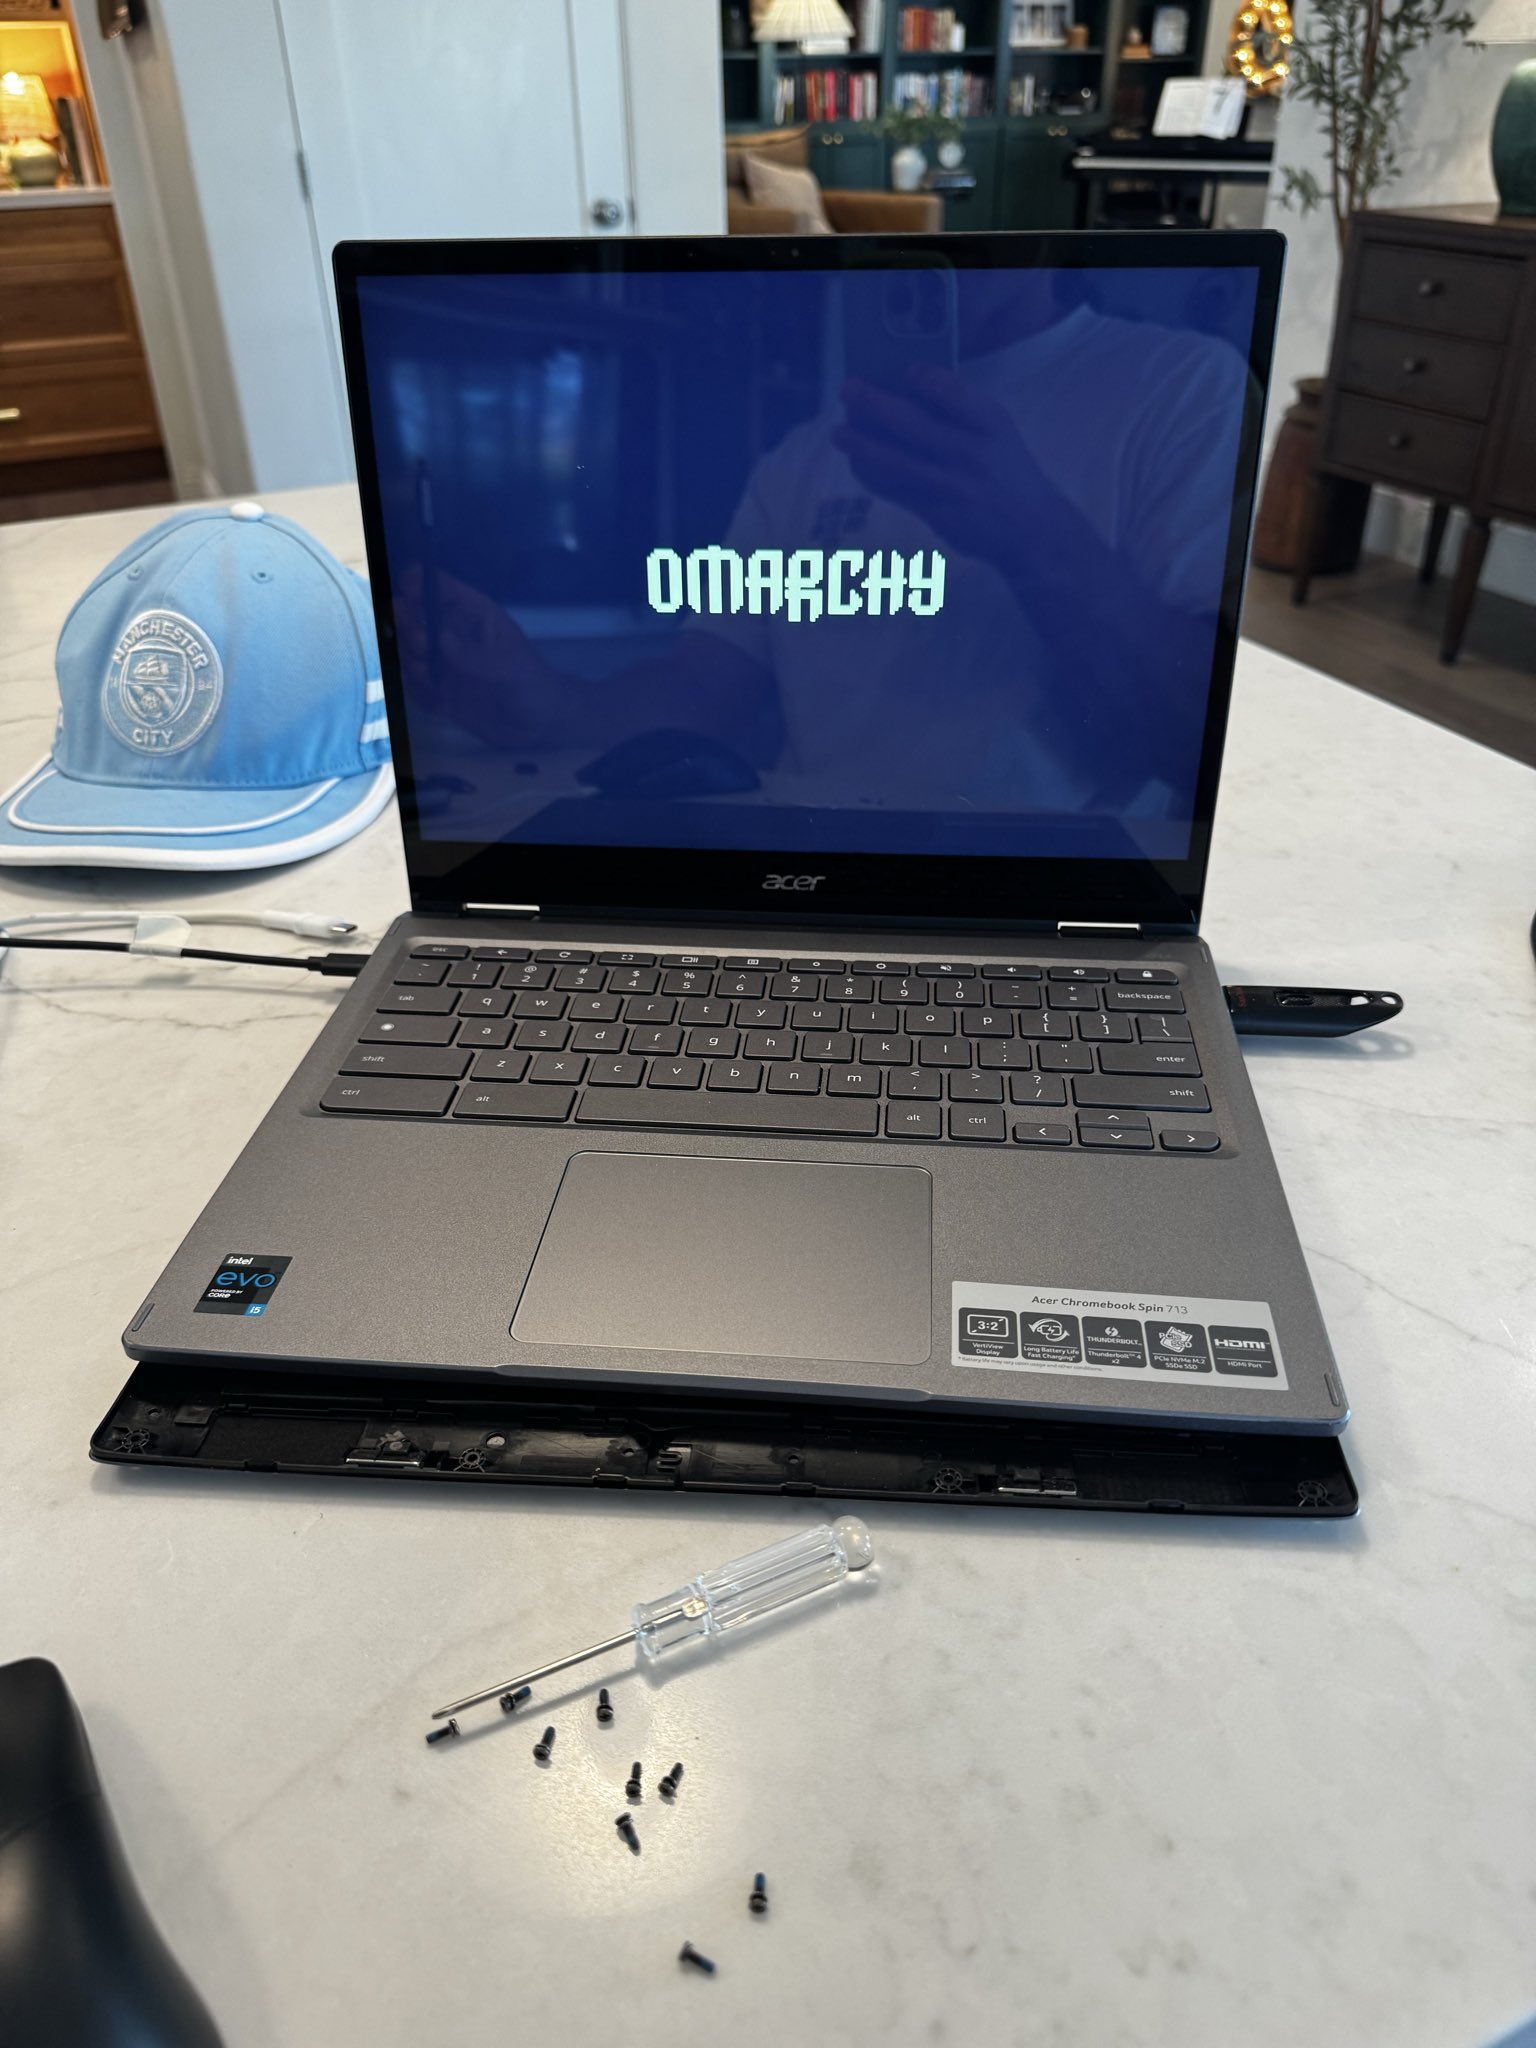
After manually formatting the disk, I noticed a hidden .sh file in the live environment - something like ./auto-installer.sh (the exact name escapes me). When I ran it, it booted up the Omarchy install process again from the beginning.
Here's what was strange: the auto-installer formatting now worked perfectly.
The previous error said "storage too full" as if it was about disk space during formatting, but after I manually created the partitions, the installer's own auto-formatting had no issues. There was no error previously about the disk itself - just that cryptic "no space" message. Something about manually partitioning the disk first fixed whatever was causing the auto-formatter to fail.
The Smooth Sailing
Once past the partitioning issue, the rest was surprisingly smooth, thanks to omarchy.org - a beautiful, guided Arch installation interface.
Once the installer was working correctly, the entire installation took less than 10 minutes. Reboot, and I had a fully functional Arch Linux system on what was once a locked-down Chromebook.
What I Actually Learned
1. ChromeOS Bootloader Architecture is Fundamentally Different
You cannot simply boot a Linux USB on a Chromebook like you can on a regular PC. ChromeOS uses a verified boot process with its own bootloader. The legacy boot options exist but they never ended up being a viable option for me to just test if my new OS would work. Full firmware replacement was the only path forward.
2. Hardware Write Protection is Real and Physical
The Acer Spin 713 requires battery disconnect to disable hardware write protection. This is not a software setting you can toggle - it's a physical hardware security measure. The battery needed to stay disconnected to enter write mode for the Full ROM flash.
3. MrChromebox's Firmware Utility is Incredibly Polished
The script worked flawlessly while ChromeOS was running, auto-detected my hardware, and made the entire process straightforward. This isn't some janky hack - it's production-quality software trusted by thousands of users.
4. Arch Installation Errors Can Be Misleading
The "storage too full" error during the auto-formatting wasn't actually about storage. After I manually formatted the disk and re-ran the hidden installer script, the auto-formatting worked fine. The error message didn't reflect the actual problem, whatever that was.
5. Having Shell Access During Installation is Invaluable
When the auto-installer failed, being able to drop to a shell and manually partition the disk saved the entire installation. This is one of the advantages of Arch's installation process - you have full system access to troubleshoot.
Current Setup
Hardware:
- Acer Spin 713 Chromebook
- Intel 11th Gen processor
- 256GB NVMe SSD (Samsung HFM256GDJTNG)
- MrChromebox UEFI firmware
Software:
- Arch Linux
- Installed via omarchy.org guided installer
Was It Worth It?
This was my first experience with Arch (I thought the USB image was Ubuntu!), but omarchy.org made the installation surprisingly smooth and visually appealing. What could have been an intimidating process turned into an accessible learning experience.
I went from a locked-down ChromeOS device to a full-featured Arch Linux system with complete control over my software and environment. The firmware flashing process was more straightforward than expected, thanks to MrChromebox's excellent tooling.
And yes, I can now legitimately say "I use Arch, btw" in proper internet slang.
Resources
- MrChromebox Firmware Utility: https://mrchromebox.tech/
- Supported Devices: https://docs.mrchromebox.tech/docs/supported-devices.html
- omarchy.org: https://omarchy.org/ (beautiful Arch installer)
- Arch Wiki: https://wiki.archlinux.org/ (comprehensive Linux knowledge base)
Final Thoughts
Converting a Chromebook to native Linux is more accessible than it might seem, thanks to MrChromebox's firmware utility. The key challenges I faced were:
- Understanding that legacy boot options wouldn't work for my use case
- Figuring out the hardware write protection requirements (battery disconnect)
- Working around the auto-formatter by manually partitioning first
Once I understood these gotchas, the process was surprisingly smooth. MrChromebox writes some great software that made this entire conversion possible.
I'm excited to learn more about Arch and explore what this hardware can do with full Linux capabilities.
Have questions about Chromebook firmware flashing or your own conversion experience? Feel free to reach out.